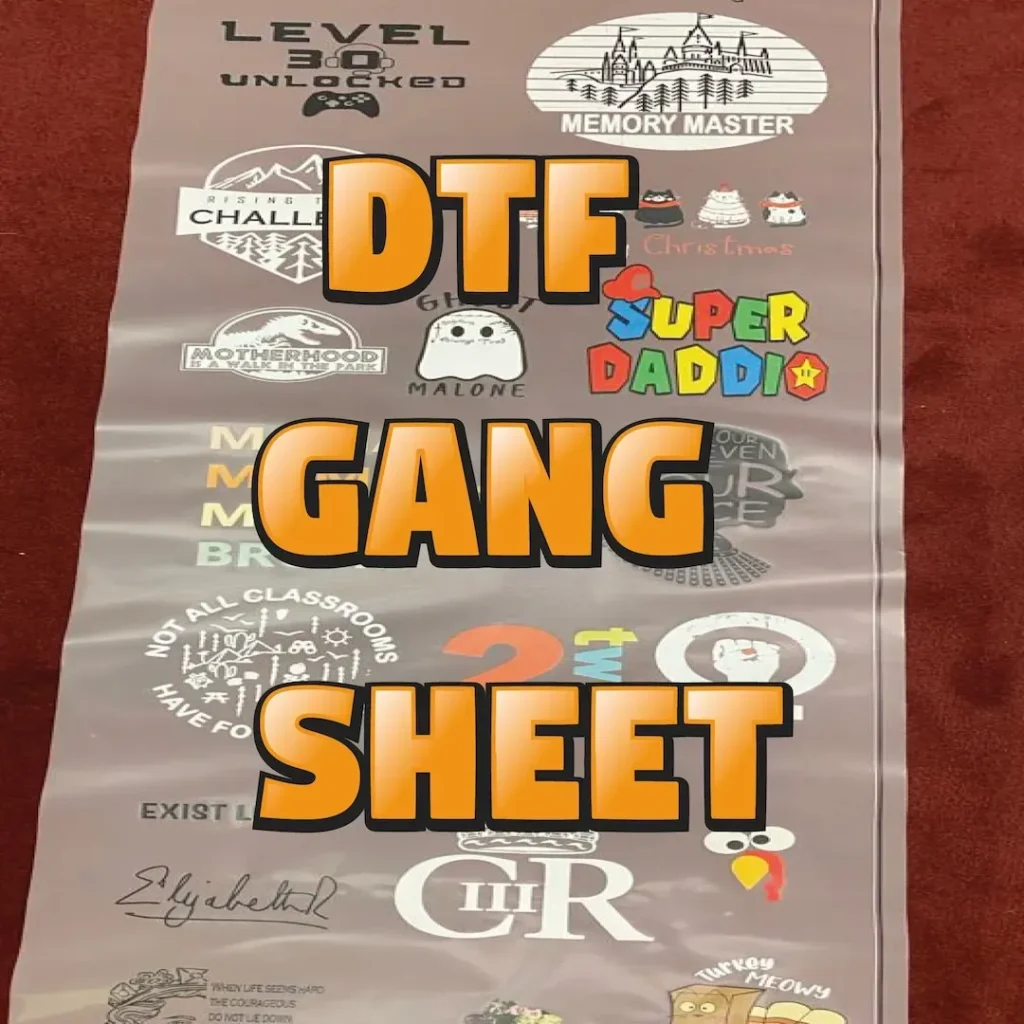
DTF gangsheet is a powerful method that reshapes how decorators tackle multi-design projects on a single transfer film, enabling teams to plan before any printer wakes up and coordinate artwork, timelines, and quality checks in a single, integrated workflow. A smooth start hinges on a clear DTF printing workflow, which guides file preparation, color decisions, alignment, substrate selection, and verification steps so every slot prints as intended, reducing surprises on press. By describing the project in terms of batches, garment types, and scalable layouts, the team can anticipate foil paths, margins, and the precise placement of each design, while also planning for potential color interactions and underbase requirements. This approach minimizes non-value-added steps and reduces the likelihood of reprints by catching issues early during the prepress and proofing stages, enabling faster signoffs, better documentation, and tighter version control. Ultimately, it translates into faster turnaround, lower waste, reliable quality that keeps customers satisfied across repeated orders, and a scalable framework that supports growing production without sacrificing accuracy.
From an LSI perspective, you can describe the same concept using terms like multi-design transfer sheet, consolidated print sheet, or batch transfer sheet—each label signaling the idea of packing several designs into one film. This broader framing supports the core DTF transfer printing concept and maps closely to the common DTF printing workflow, providing readers with familiar touchpoints while exploring variations in layout and color handling. To strengthen practical guidance, this discussion can then reference DTF color management and DTF heat press tips as essential tools for achieving consistent color, full adhesion, and durable finishes across garments.
DTF printing workflow optimization: planning designs, sizing, and grid layouts
A robust DTF printing workflow begins with upfront planning. Compile the full set of designs you’ll place on a gang sheet, record each artwork’s final print size, and note white underbase or placement requirements. By aligning designs by color palette and garment type, you can minimize color shifts and streamline the DTF printing workflow from file preparation to transfer.
Create a master checklist listing design names, intended print sizes, and copies per piece. This planning phase reduces last-minute adjustments during production and helps you maximize throughput while maintaining color integrity across the gang sheet.
DTF gang sheet design: layout, margins, and bleed
DTF gang sheet design hinges on a practical grid that balances the number of designs with your printer and film constraints. Choose sheet sizes such as A4 or Letter and then lay out slots with uniform margins, controlled spacing, and bleed regions to prevent misalignment after printing and cutting.
Assign each design to a slot, include a small alignment reference, and plan for white underbase areas where needed. A thoughtful approach to the gang sheet design reduces misregistration and simplifies post-print trimming, ensuring consistent results across batches.
Artwork preparation for reliable DTF transfer printing and color management
Prepare artwork with color integrity and print readiness in mind. Export at high resolution (typically 300–600 PPI) and apply a color management workflow that matches your RIP and printer profile. Starting with an sRGB workflow and soft-proofing against the target ICC profile helps predict on-garment appearance for DTF transfer printing.
Flatten layers when required, maintain clean edge definitions, and use consistent naming for each slot. Prepare alpha channels or masks if a design needs precise white underbase placement, and ensure the color palette stays within the printer’s capabilities to avoid clipping during DTF transfer printing.
DTF color management and proofing: soft proofs, ICC profiles, and color fidelity
Color management is central to a dependable DTF gang sheet workflow. Build soft proofs on the same garment substrate you’ll use in production and embed ICC profiles in the artwork to preserve color relationships across designs.
Create a printProof that includes a small color swatch bar for quick reference and verify that gradients and fine details remain crisp when printed. The RIP should preserve edge definitions at the chosen resolution to maintain color fidelity for DTF color management.
DTF gangsheet: heat press tips and RIP setup for reliable transfers
The RIP setup and heat-press parameters are critical to successful transfers. Configure color profiles and print resolution (600–1200 DPI is common for DTF gate prints) and define a white underbase weight and placement according to garment color and opacity needs. Including DTF heat press tips in this stage helps you lock in consistency across the sheet.
Practice with a few test slots to validate alignment and adhesion before full production. Use registration marks or jigs, and adjust heat, pressure, and pre-press timing to suit each substrate, film, and ink combination while following practical DTF heat press tips.
Quality control, iteration, and scaling the DTF gangsheet production
No two gang sheets should be treated as identical. Implement version control for templates, calibrate printer and RIP settings regularly, and build a library of test swatches to speed future proofs. This aligns with a disciplined DTF printing workflow and reduces variability across runs.
When you scale production, document best-performing settings for fabrics, films, and inks, and train staff accordingly. A well-maintained library and clear processes enable faster turnaround and fewer costly reprints while maintaining consistent color and finish.
Frequently Asked Questions
What is a DTF gangsheet, and how does it fit into the DTF printing workflow?
A DTF gangsheet is a single transfer film that carries multiple designs in a grid, enabling printing many items in one run. It speeds production, reduces setup time, and aligns with the DTF printing workflow by planning designs, margins, bleed, grid layout, and RIP settings before printing.
How do you approach DTF gang sheet design to maximize space and ensure accurate color placement?
Start by listing all designs, grouping those with similar color palettes or garment types, and assigning grid slots with bleed and white underbase considerations. Use consistent naming and plan margins for post-print trimming to minimize waste and color shifts, which is central to DTF gang sheet design.
What should you consider for DTF transfer printing when using a gangsheet to maintain color fidelity and adhesion?
Prepare artwork with color management in mind, verify white underbase placement, and test on the same garment substrate. Use appropriate heat press parameters (for example, around 160–170°C for 10–15 seconds) and a pre-press to ensure reliable adhesion during DTF transfer printing.
How does DTF color management influence outcomes on a gangsheet, and what practices help maintain consistency?
Calibrate monitors, soft-proof against the target ICC profile, embed color profiles in all designs, and keep all artwork in a consistent color space. Run test proofs on the actual garment substrate to catch color shifts before full production, which is key to DTF color management.
What are key DTF heat press tips for gangsheet transfers to ensure even results?
Pre-press the garment to remove moisture, align the gangsheet precisely using registration marks, apply the recommended heat and pressure for the film and ink, then allow cooling before peeling and perform a final cure if required. These DTF heat press tips help secure uniform adhesion across all slots.
How can I validate and optimize a DTF gangsheet before full production to minimize waste?
Print a test gangsheet on the same transfer film, check alignment, margins, white underbase adequacy, and color fidelity, then adjust layout and re-run tests until results are consistent. Maintain a simple QA checklist and archive templates for future runs to continually optimize the DTF gangsheet process.
| Section | Key Points |
|---|---|
| Introduction |
|
| STEP 1: Define designs and sizing |
|
| STEP 2: Sheet size, margins, and grid layout |
|
| STEP 3: Artwork preparation |
|
| STEP 4: Color management & proofing |
|
| STEP 5: RIP, printer settings & white underbase |
|
| STEP 6: Test gangsheet & pre-press check |
|
| STEP 7: Garment, heat press & transfer procedures |
|
| STEP 8: Transfer, peel & finish |
|
| STEP 9: Quality control & workflow optimization |
|
| STEP 10: Maintenance & scaling |
|
| Conclusion |
|
Summary
DTF gangsheet can dramatically improve printing speed, reduce setup time, and preserve color accuracy across multiple designs. By following the step-by-step approach outlined above—planning your designs, choosing a solid grid, preparing artwork with color management in mind, configuring the RIP properly, validating with test runs, and maintaining a disciplined QA process—you’ll achieve flawless, quick prints consistently. The DTF gangsheet is a scalable framework that turns a complex set of designs into a repeatable, reliable production workflow. As you refine your gangsheet templates and color profiles, you’ll notice less variability between runs, fewer reprints, and happier customers who get their orders faster without compromising on quality.